#
How To Use
Simply launch ATEM Exporter and put the IP Address of your ATEM in:
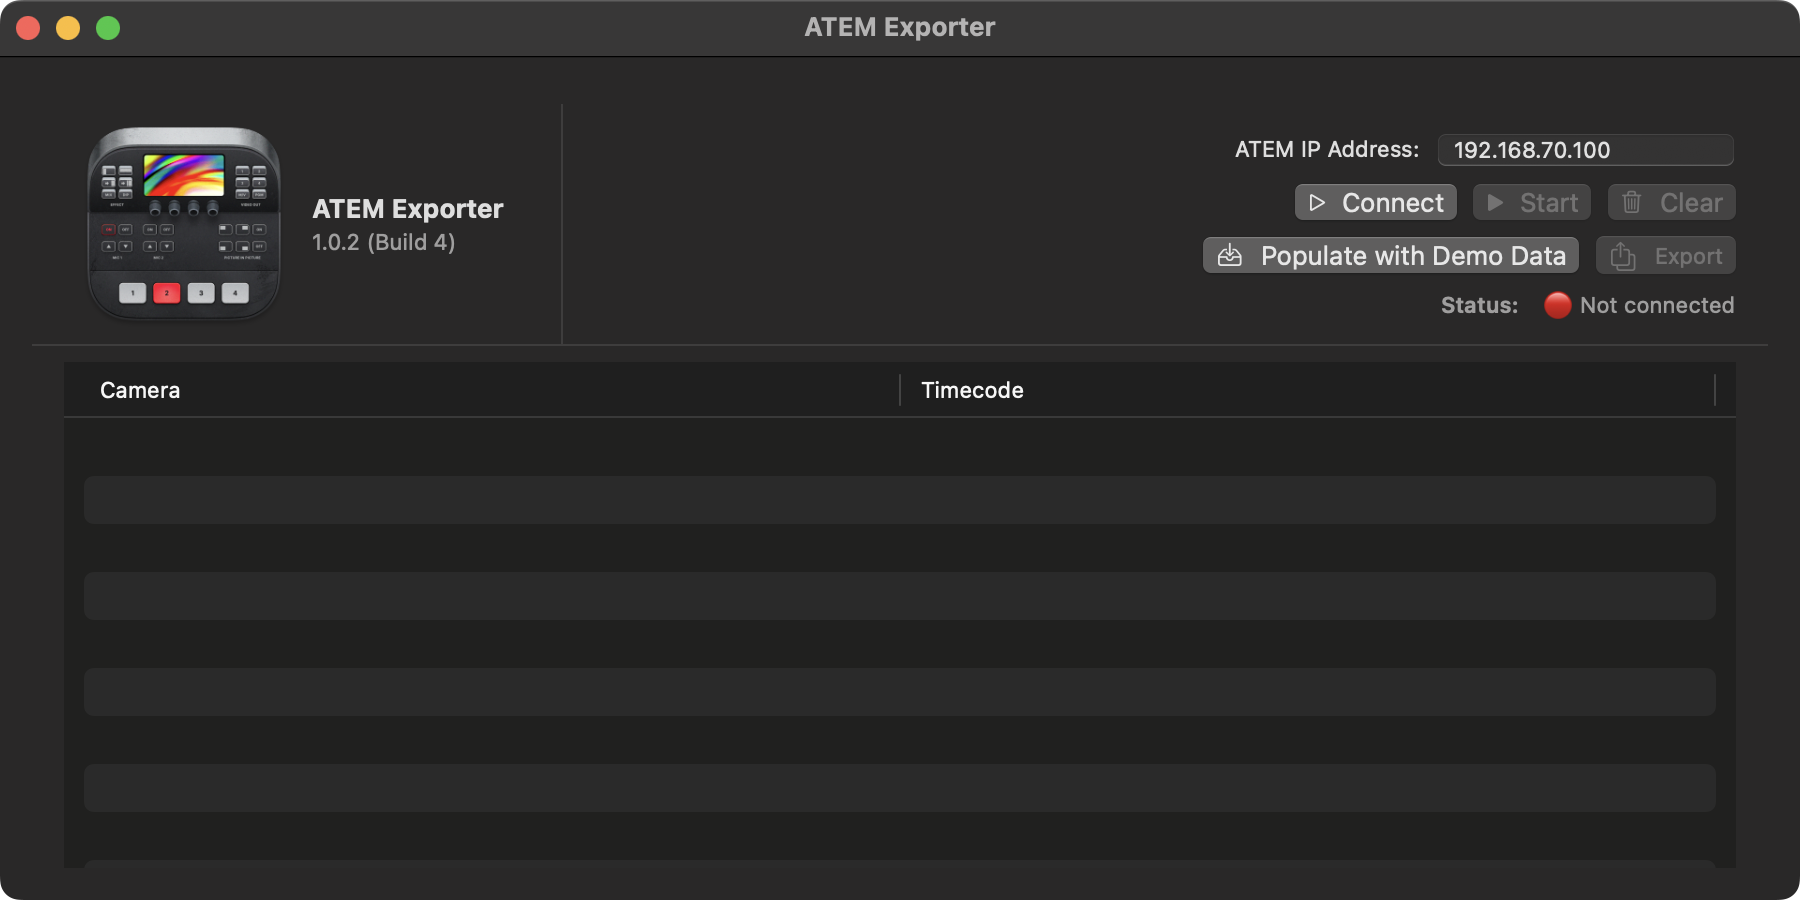
You should now be able to connect to the ATEM over Ethernet.
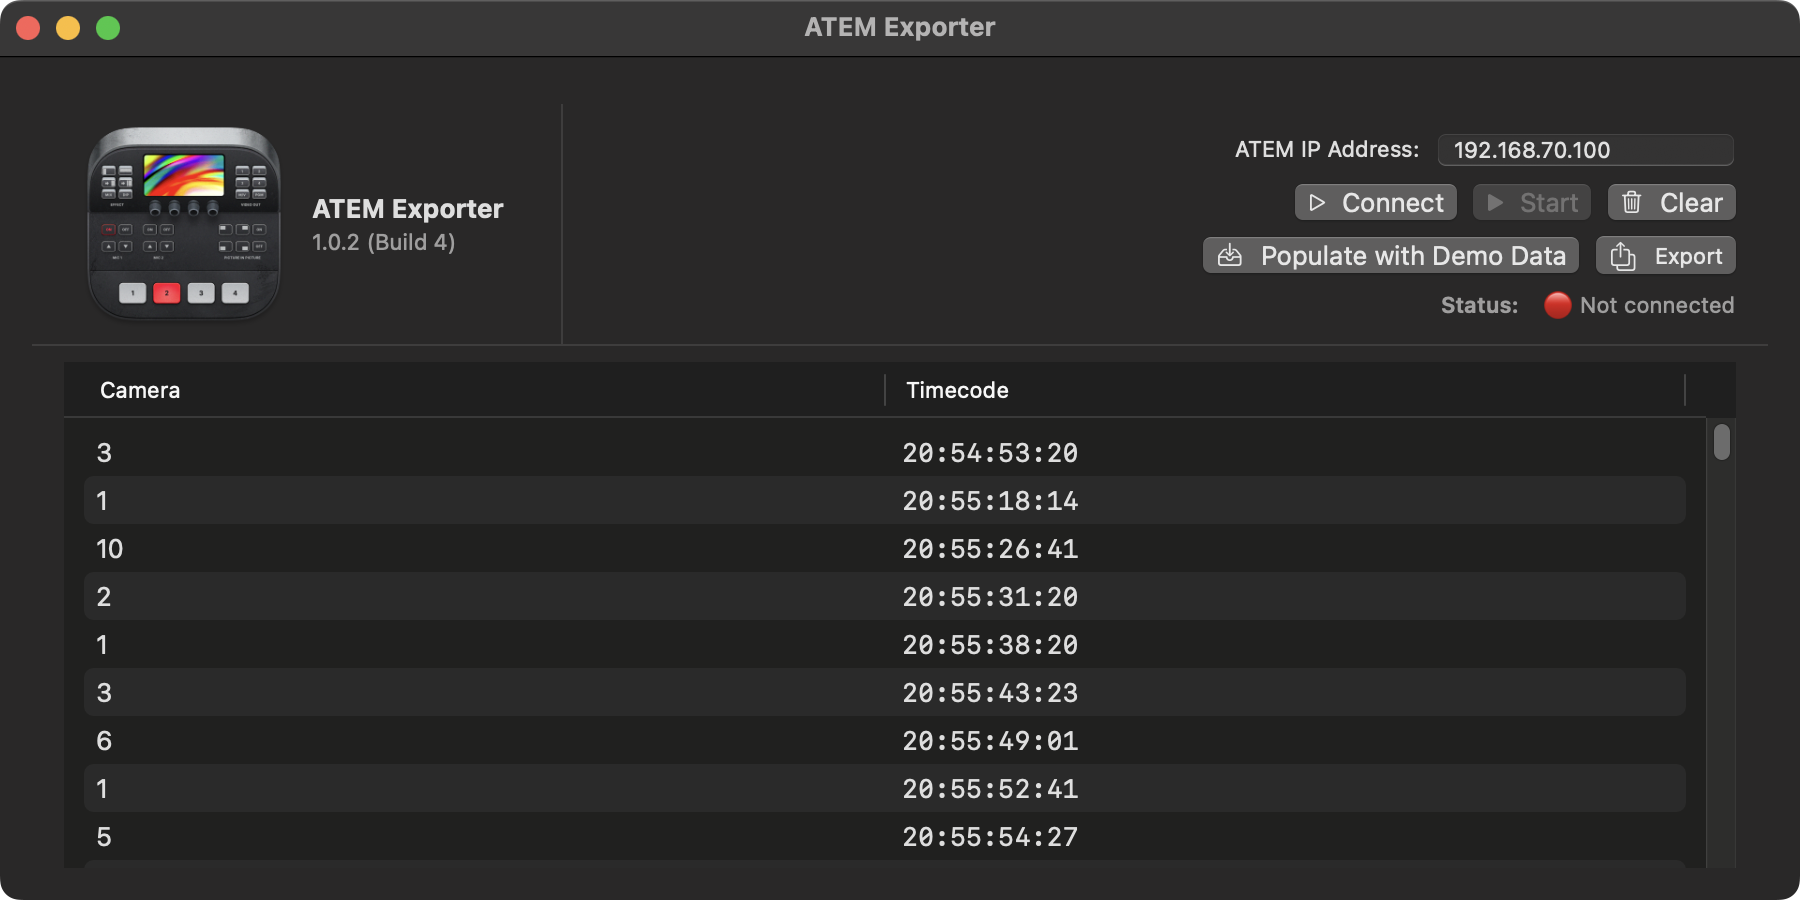
Once connected, it will start logging the camera changes, and you should see the results instantly in the interface:
To export, simply select an Export option, which generates a FCPXML for Final Cut Pro or DaVinci Resolve.
You can export during a live/recording situation - whatever is currently visible in the camera/timecode list will be exported.
#
Export Program Cut
When exporting a Program Cut, it allows you to select your Program feed (i.e. a ProRes from a HyperDeck), and it will export a FCPXML with a single file in the timeline, with cut points at every camera change.
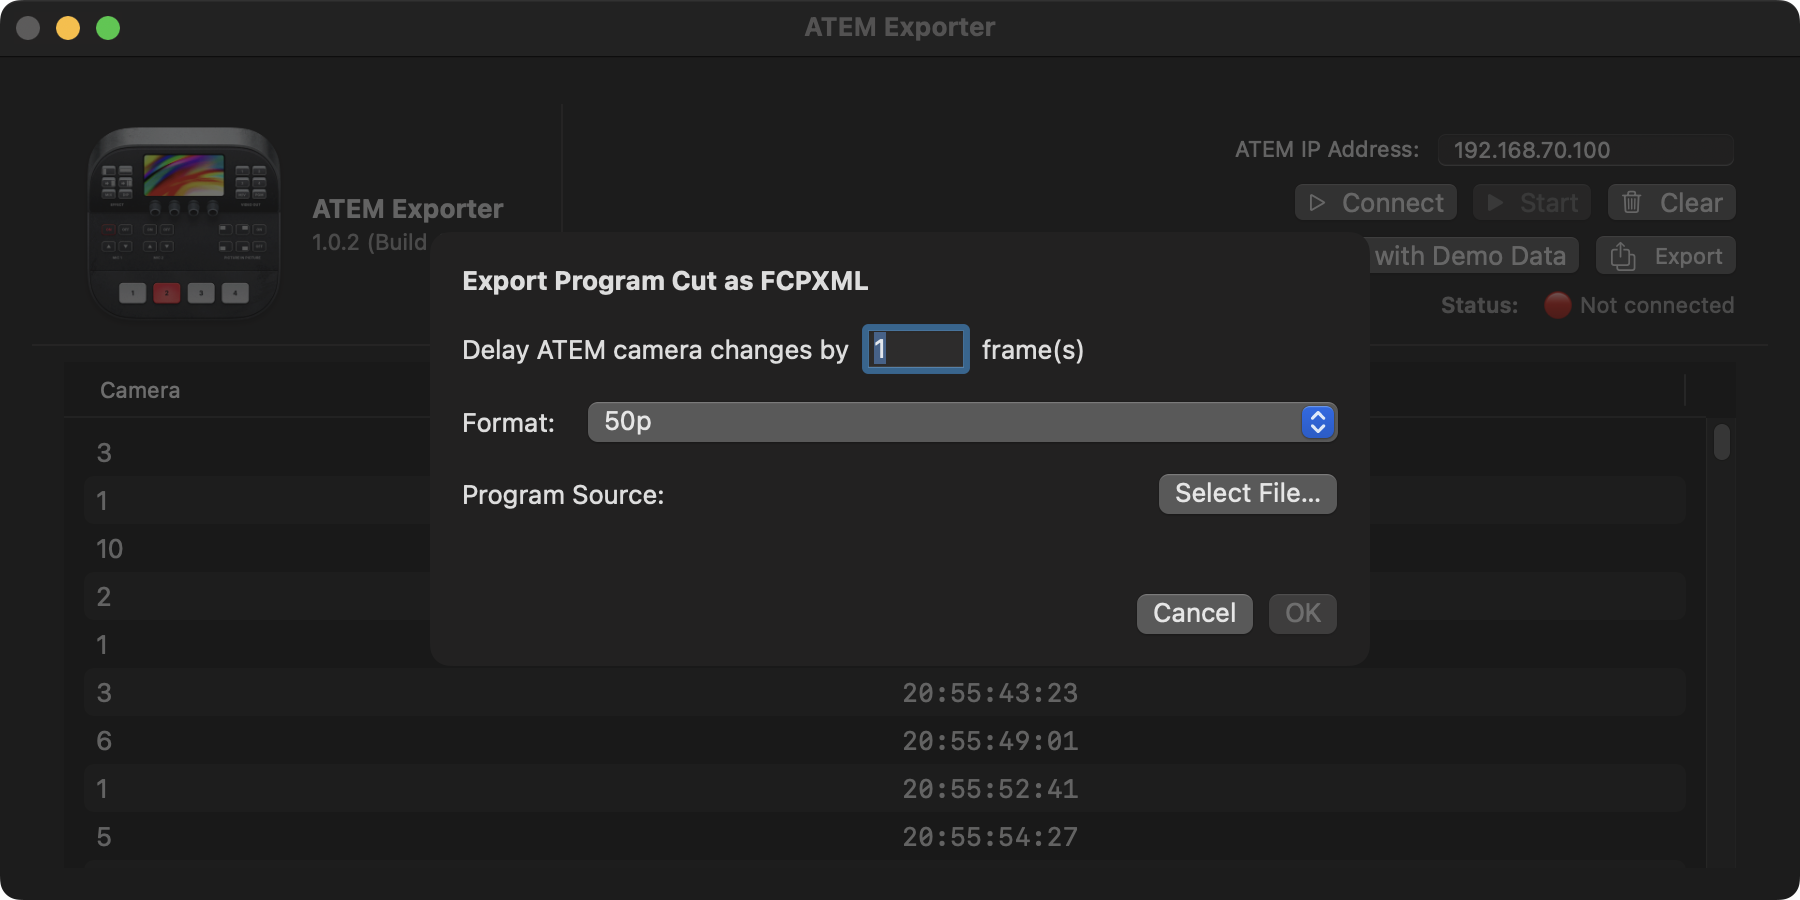
We found that we needed to delay the ATEM camera changes by 1 frame, although SOMETIMES on SOME cameras, it was still off by a frame. I'm not currently sure if this is a limitation of the ATEM API, or if it's a bug somewhere in my code.
#
Export Multicam
When exporting a Multicam, it allows you to select your Program feed (i.e. a ProRes from a HyperDeck), as well as any camera ISOs.
If you don't have a Camera ISO, it will default to the Program Feed - but you need at least the Program feed and a single ISO to be able to export.

Again, we found that we needed to delay the ATEM camera changes by 1 frame, although SOMETIMES on SOME cameras, it was still off by a frame. I'm not currently sure if this is a limitation of the ATEM API, or if it's a bug somewhere in my code.
#
Demo Data
For those that don't have access to an ATEM (like myself), there's also a Populate with Demo Data button that fills the table with real-world data from an actual live event:
You could then create your own dummy media (i.e. something that starts at 20:54:50:00 at 50fps) to test out the FCPXML exports.